
Annihilated Outcast Boss Guide: First Boss Strategy
How to beat The Outcast in Annihilated: 4,148 health, the 200-point stagger gauge, the iron sword telegraph, and the Fatal Strike that ends it.
Quick answer: The Outcast is a stagger check disguised as a health check. It has 4,148 HP and a stagger gauge around 200, and it telegraphs its swings before they land. Build stagger through its iron-sword turns, then finish the break with a seize-capable weapon's last use for an instant kill.
The first boss is where Annihilated stops being polite. Up to this point, Goblins and Kobolds have let you win with whatever cards you picked up. The Outcast asks whether you understand the break loop, and it asks with a health bar that is roughly forty times your starting weapon's damage.
What are The Outcast's stats?
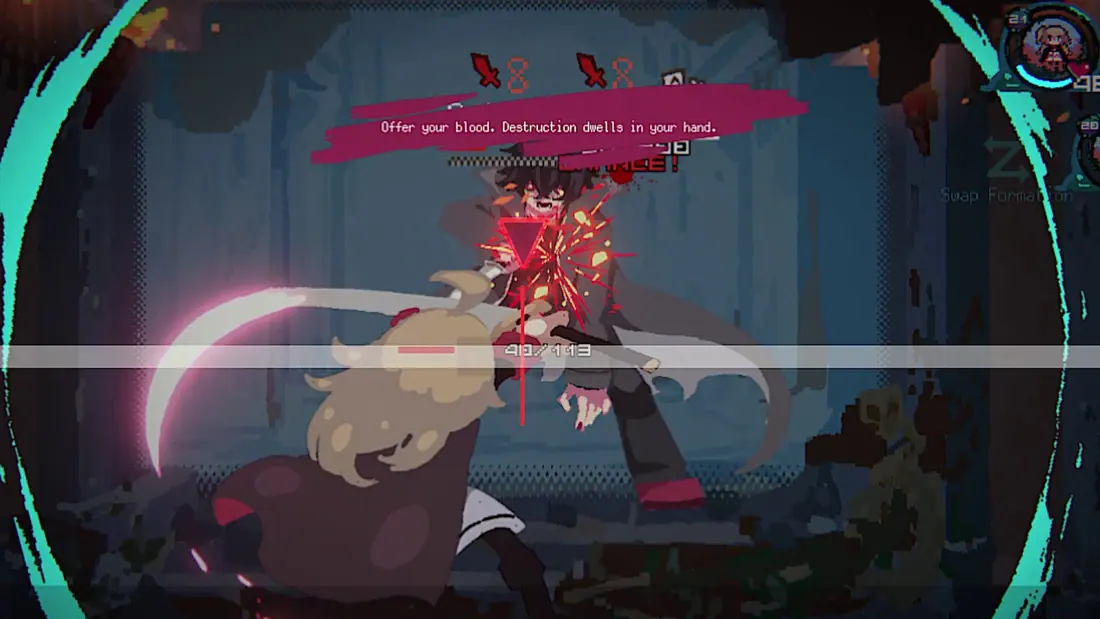
From the demo HUD:
| Stat | Value |
|---|---|
| Health | 4,148 |
| Stagger gauge | 200 (shown as 38/200 mid-fight) |
| Break indicator | 33/59 on the break meter |
| Intent | "Swings the iron sword" before a heavy attack |
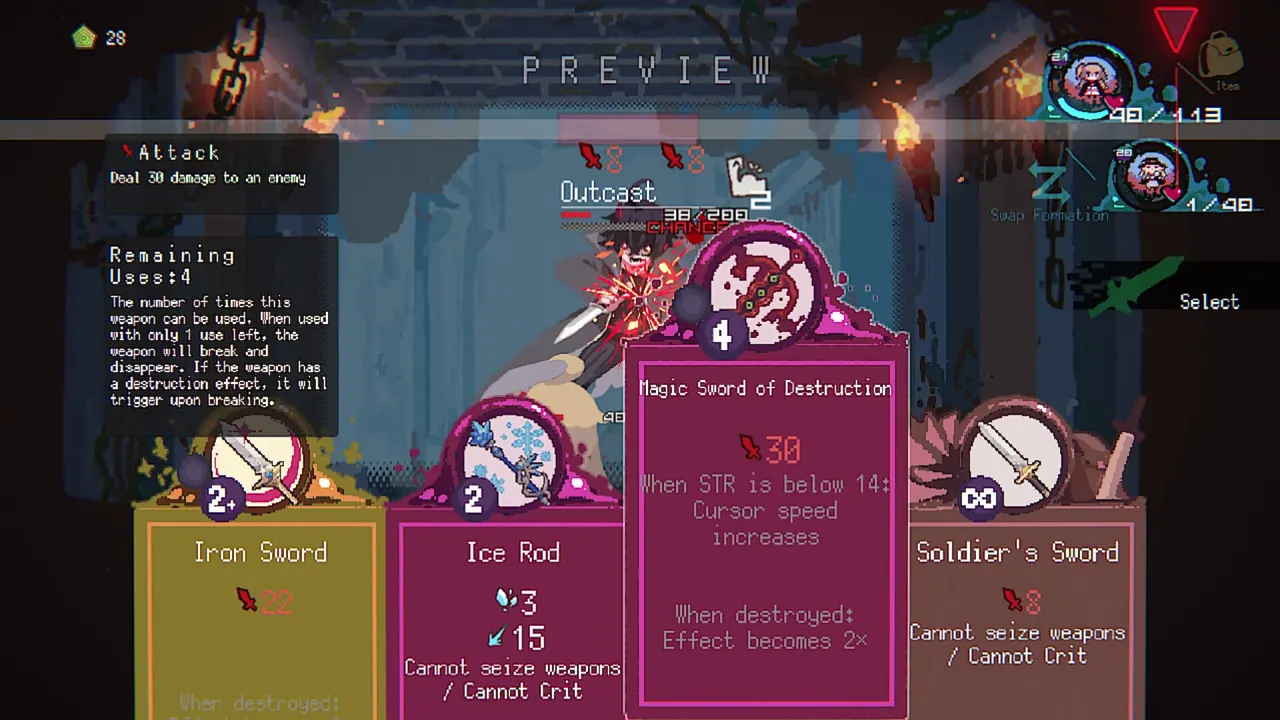
Those numbers define the fight. At 22 damage per Iron Sword use, you cannot race 4,148 health with starter weapons. You need the stagger break and a finisher, which is the lesson the boss exists to teach.
The 33/59 break meter is the other clock. It tells you how close the boss is to the break state, and it moves faster than the health bar. Watch the break meter, not the health bar.
What does The Outcast do?
Its signature action is an iron sword swing, telegraphed with the text "Swings the iron sword" before it resolves. That is your cue to heal, guard or commit to a stagger turn rather than greed for damage.
The boss also carries the iron sword as equipment, which is what you seize after a Fatal Strike. The fight is designed around that reward: the thing trying to kill you is the thing you want.
No additional phases are confirmed in the demo material. Treat the fight as one long stagger race with escalating pressure rather than a scripted phase change.
How do you build the break?
The break needs roughly 200 stagger. Your deck needs to produce that before your healing runs out.
A working plan:
- Opening turns: spend cheap, high-stagger cards. Do not use the finisher.
- Telegraph turn: heal or guard if the swing would kill a partner. Otherwise take the hit and keep building.
- Mid-fight: use the break meter to judge whether you are ahead. If the meter is below half when your heals are half gone, you are behind.
- Break: land the seize-capable weapon's final use. The Fatal Strike ends the fight and gives you the iron sword.
If your stagger output is too low, the fight is not winnable with that deck. Break a weapon for a Curse, forge a heavier card, or bring a different partner.
Which partner is best for The Outcast?
The Priest is the safest pick because healing is the resource the fight taxes. The Hero is the next best because survivability forgives a misread telegraph. The Mage helps you plan the break but does not heal, and the Warrior shortens the fight at the cost of margin.
In the demo you can bring all four as party members before the route split, so use the boss to test which partner's combat presence you actually like. That test is more valuable than a tier list.
What should you do when the swing is telegraphed?
Three options, in order of safety:
- Heal if any partner is below the swing's damage range.
- Guard if healing would waste a card and the partner can survive.
- Attack only if the break is one turn away and the hit cannot kill.
The greedy attack is the most common wipe. The Outcast's swing is not a surprise; the game told you it was coming. Dying to it is a planning failure, not a reflex failure.
How many attempts should the fight take?
Two to four for a first-time player is normal. The demo's October update reworked combat, UI and music, but the stagger-to-break loop is still the core of the fight.
If you are on attempt six, stop and rebuild the deck. The fight is not a reflex wall; it is a deck check. A deck with one seize-capable finisher, one heavy stagger card and one heal will beat it more reliably than a deck with four damage cards.
The final use is the execution. If you spend it on a healthy boss, you lose the Fatal Strike and the iron sword, and you have to rebuild the break with fewer cards.
Official source: Annihilated demo on Steam ↗
What do you get for beating The Outcast?
A Fatal Strike seizes the boss's iron sword. Clearing the fight also unlocks the demo's exclusive teaser, and in the full game it opens the route split.
If you are playing the demo, save after the fight and after the teaser. That is the save you want to carry into the full release.
Is The Outcast hard?
It is the hardest fight in the opening and the easiest boss in the game. That is deliberate: it teaches the break loop in a controlled environment, before the routes start charging you six hours for the same mistakes.
Once you can beat it without spending a Curse, you are ready for the route content.
The Fatal Strike guide→ explains the break window, and the demo guide→ covers the rest of the demo's content.
FAQ
How much health does The Outcast have?
The demo HUD shows 4,148 HP. Its stagger gauge is around 200.
Can you beat The Outcast without a Fatal Strike?
Yes, but it takes far more cards than most first-run decks carry. The Fatal Strike is the intended solution.
Does The Outcast have a second phase?
No second phase is confirmed in the demo. Treat it as one sustained stagger race.
Is The Outcast the final boss?
No. It is the first boss and the demo's endpoint. The full game continues into the four partner routes.